# Developments
Development properties should be loaded into the platform using the 'development/properties' model, where you first create the Development, and then add all the properties it contains.
Apart from a better organization of your inventory stock, there are additional advantages like the possibility of using bulk actions to insert and edit multiple properties, and advertise all the properties in a development by using a single listing.
# On this page
# Adding developments
Go to Developments section on the side navigation bar to access the list of all your developments.
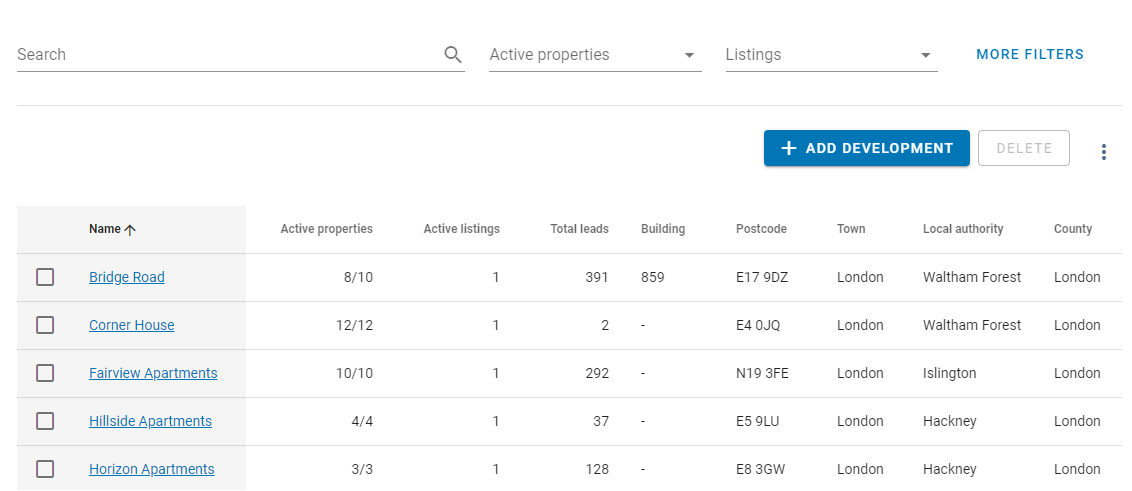
You can add developments by importing them from a CSV file, or manually.
To add a development manually, click on the 'ADD DEVELOPMENT' button to display the modal window form.
Enter a name for your development, along with the additional details.
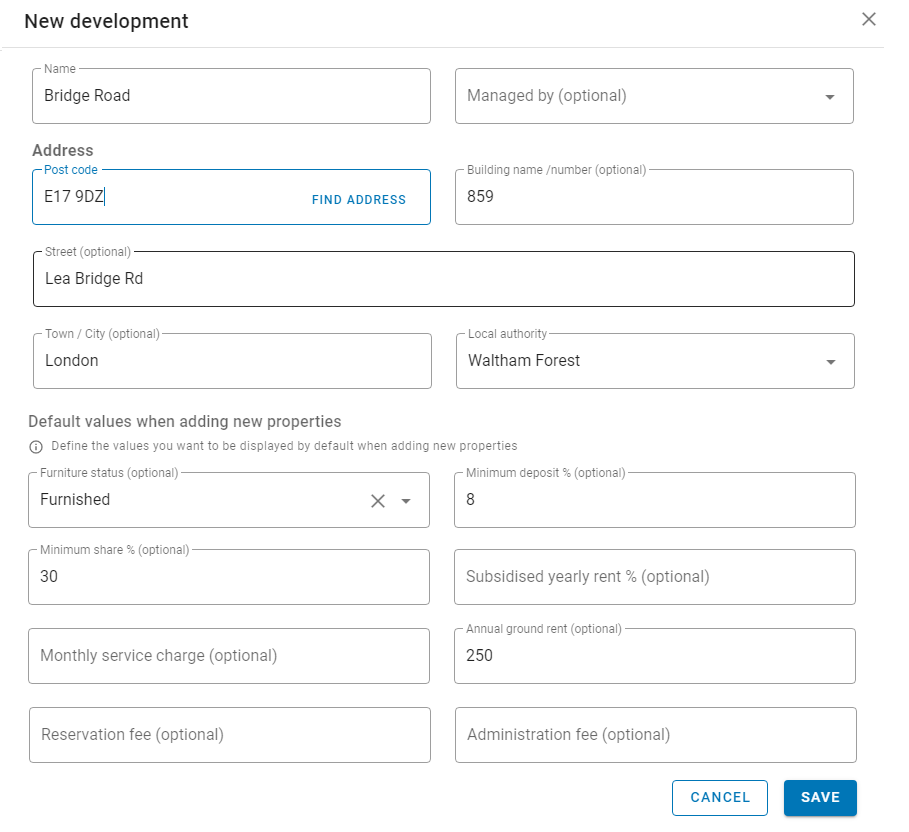
When you enter the postcode the 'FIND ADDRESS' button will make available, click on it to auto-fill the Street, Town and Local authority fields.
In this form, you can also set some default property fields to be auto-filled when adding new properties to the development.
# Editing a development
After saving a new development or clicking on an existing one from the list of developments, a modal window with four tabs is displayed. From these tabs you can add properties, site plan images and create listings. You can also open the edition form of the development by clicking on the 'edit' icon in the Overview tab.
# Overview
This tab shows the details of the development, including defined default values, a summary of the total of properties, site plan images and leads, and all the current listings created to advertise the development.
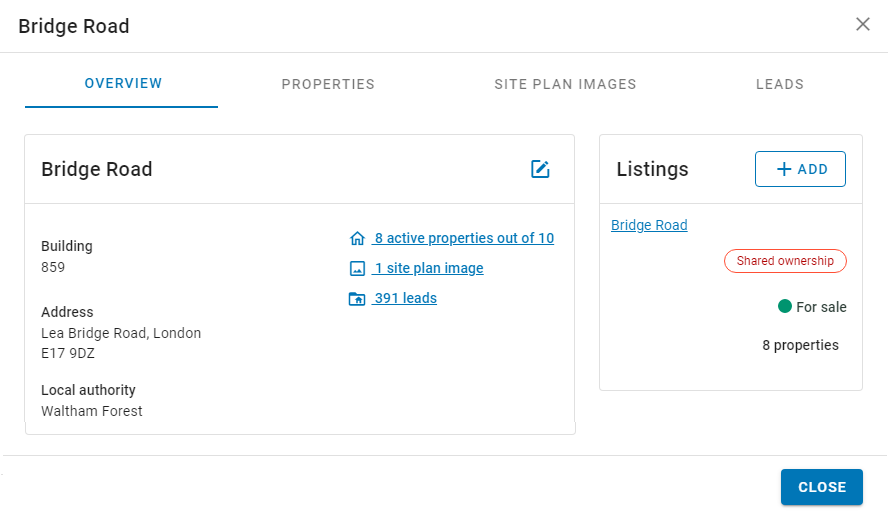
To change any of the field of the development, click on the edit icon to the right of the development name. When saving changes, they will take effect immediately in your Inventory.
To add a listing, click on the 'ADD' button to the right of the Listings section. You can edit existing listings by clicking on any of them.
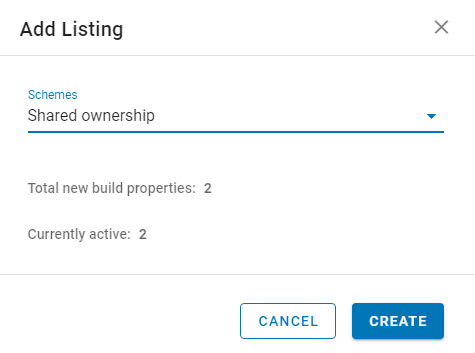
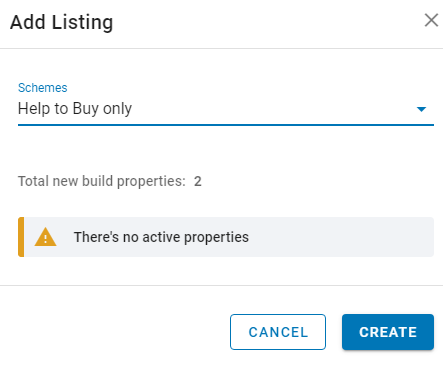
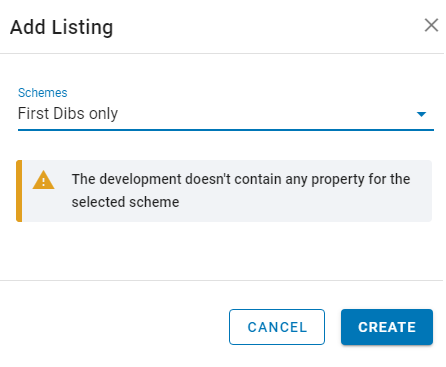
When adding a Listing, you will first need to choose the Schemes under the ones you want to create it. The modal window will provide you details about how many properties are active for each scheme group.
In case of selecting a scheme group that does not contain any property, warning messages will appear, like the ones shown below.
| No active Properties | No Properties at all |
|---|---|
 |  |
When clicking on the 'CREATE' button, the Listing form will be displayed in a new modal window. Once you have saved it, it will be added to your listings list.
# Properties
From this tab you can manage all the properties for the development. For a better understanding a separate chapter has been dedicated to Properties in this guide.
# Site plan images
Manage all the site plan images for the development. Unlike gallery images, site plan images are not cropped or resized. They should be used to present a general view of the development, including parking lots, surrounding areas, landscaped, etc.
# Leads
From this tab you will see all the development leads from all the available sources.
The Leads tab will only be displayed if there are Leads.
You can use provided filters to focus on a segment of the leads and get the matching leads total at the bottom of the list.
Click on the 'Full name' link to access to Leads details.
# Managing developments
Once you have uploaded all your developments, from the main list you can have access to some details like Active properties, Active listings or Total leads without needing to open a development. Use provided filters or sort columns to find any specific development or get the total of developments matching your search criteria at the bottom of the list.
# Delete a development
After selecting a development, click on the 'DELETE' button and confirm the action.
You will lose all your information and you will not be able to reverse this action, although you can only delete developments that do not contain any property.
# Export to CSV file
By clicking on the 3 dots on the right in the menu, you will access the option to export and import your data to a CSV file.
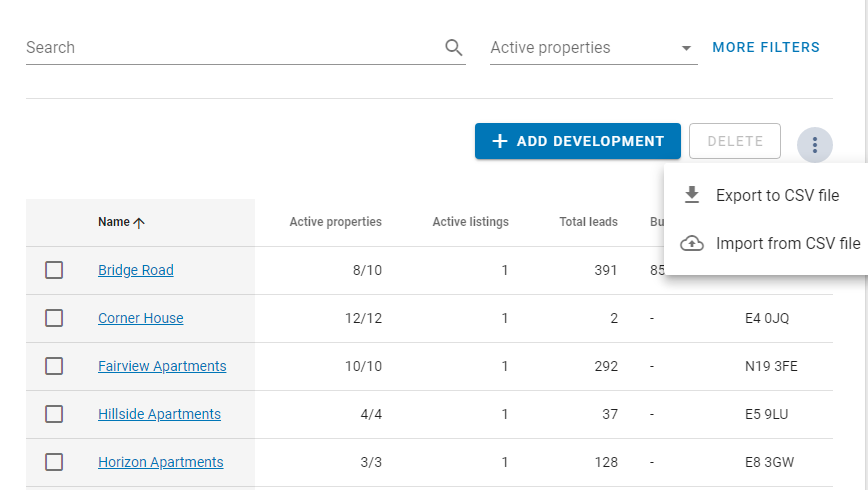
When you select the Export to CSV file option, all developments, including its properties, will be exported.
If you use filters, only those that match the search criteria are exported.
# Import from CSV file
It is common to create first Excel sheets with developments and properties before loading them into the inventory management system. By using the format required to import them to KPro Marketing you can use this option to load new developments and properties, or even to update the information of some ones that already existed.
For a better understanding a separate chapter has been dedicated to Import from CSV file in this guide.
